|
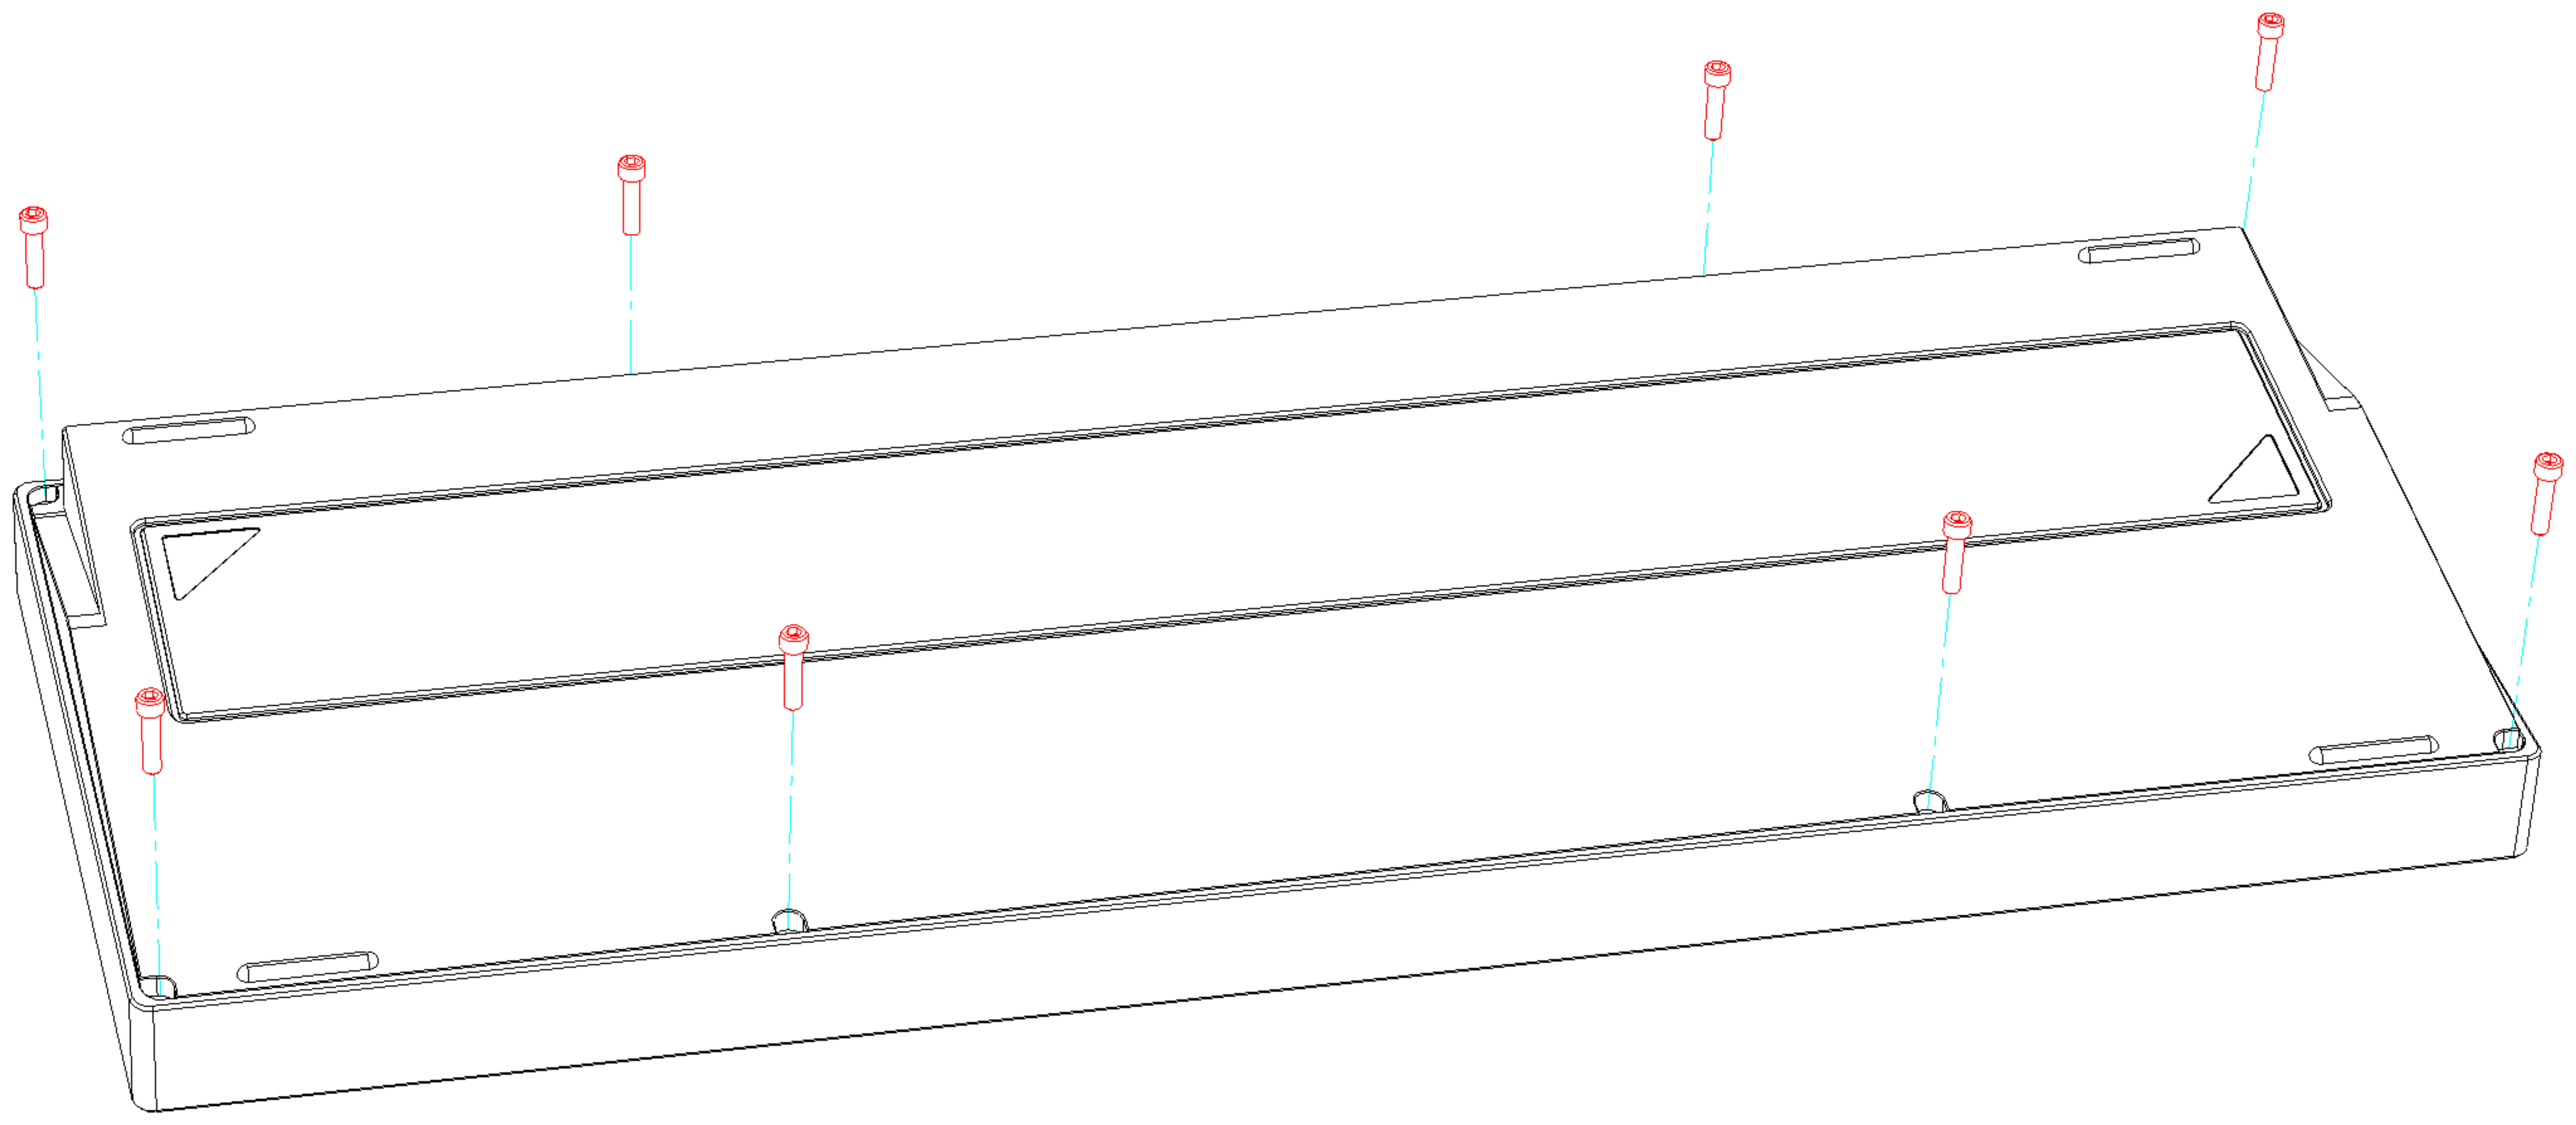
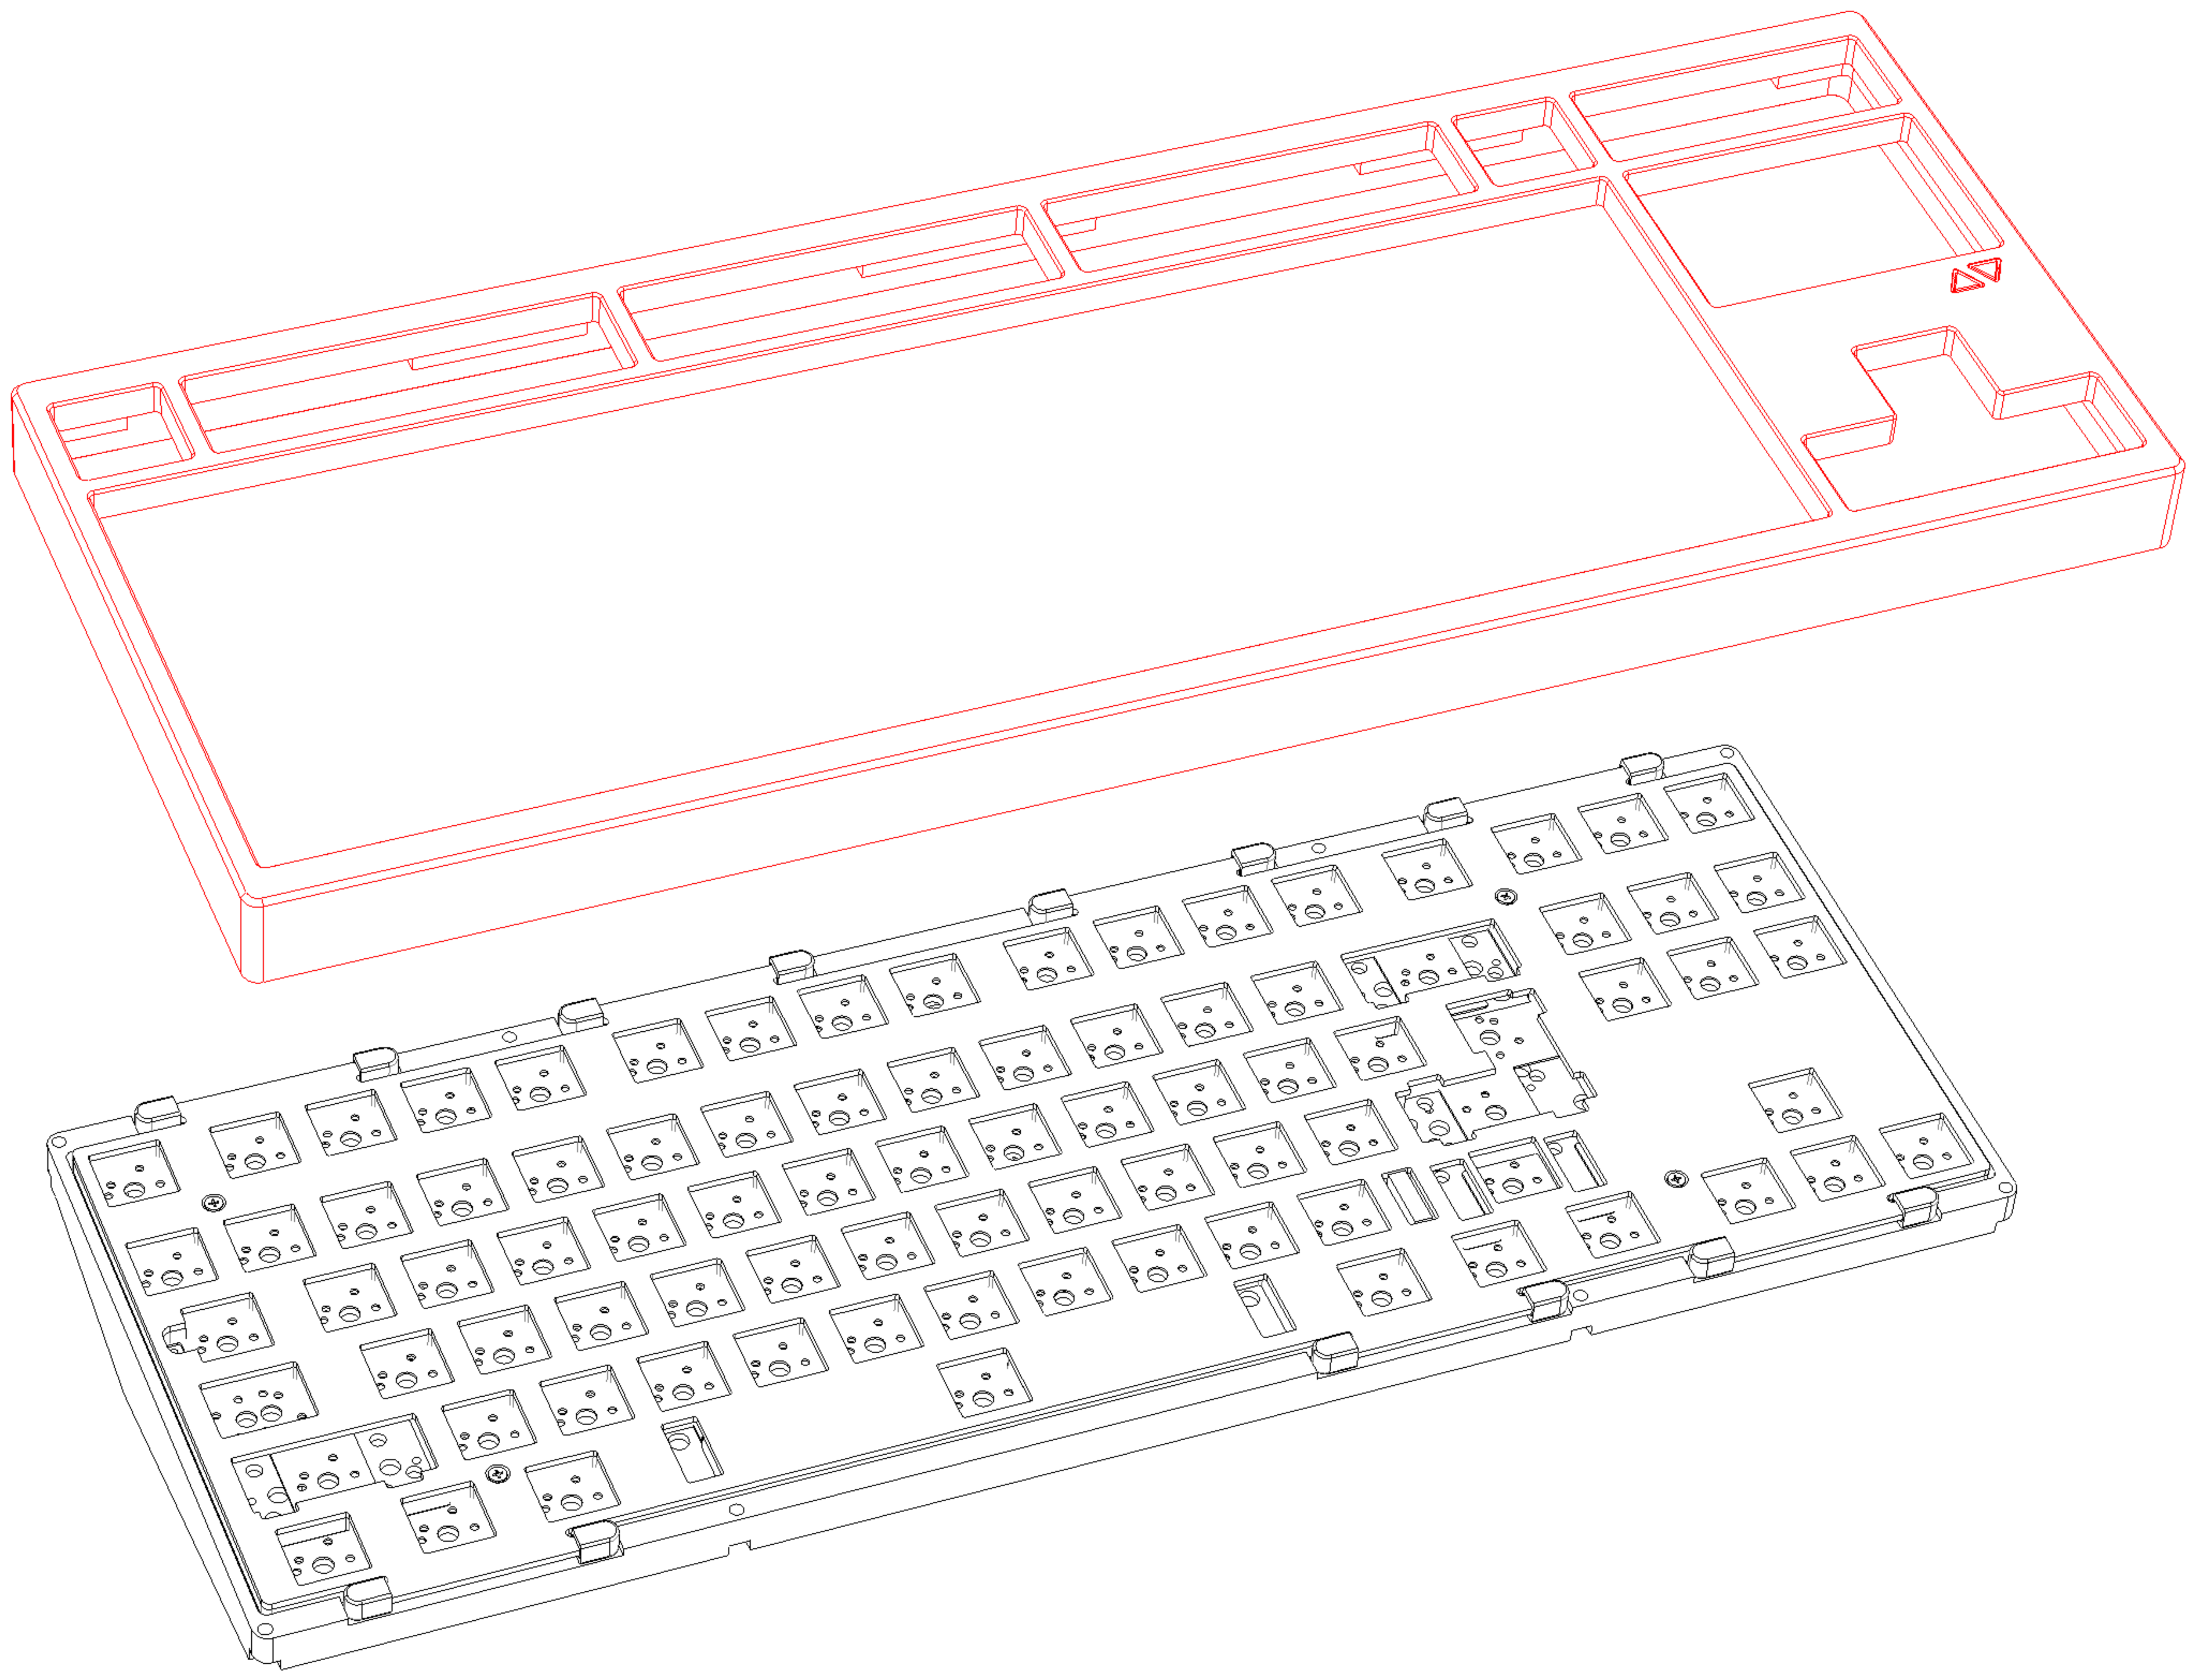
1. Unscrew the screws from top and bottom case (specification of screw: M2.5x10) |
 |
| 2. Pick up the top case. |  |
| 3. Turn up the liner as shown in the picture and carefully remove the cable. |  |
|
4. Remove the screws from the plate, and take out the PCB. Reconnect the Type-C daughter board, and connect the cable to your device. Use a tweezer to insert the switch sockets and test each key individually to ensure there are no malfunctions.
Once you've confirmed that all keys are functioning correctly, proceed to debug and install the stabilizer. |
 |
|
5. After the debugging is completed, install the screws, connect the cable, put the inner into the bottom case, and install the top and bottom case to use. |
|
- 经过 LiuLihui
LUMINKEY80 Assemble Guide
- 经过 LiuLihui
Share:
LUMINKEY80 套件安装指南